I am excited to show you how my AccuQuilt GO! quilt which can be completely made using AccuQuilt GO! dies is coming along. In part 2 of my pattern series, I left you with this picture which shows all of my rows sewn together.
AccuQuilt GO! 3 Pattern Series
Now on to the fun part – applique! Now don’t say “Eewww that’s a dirty word” because with the GO! cutter, it is super simple. Plus, for my AccuQuilt GO! Pattern Series, I will be selling pre-cut, pre-fused kits so all you have to do is iron them down and if it will be washed, stitch around them with a simple zigzag. Can you guess what this will be?
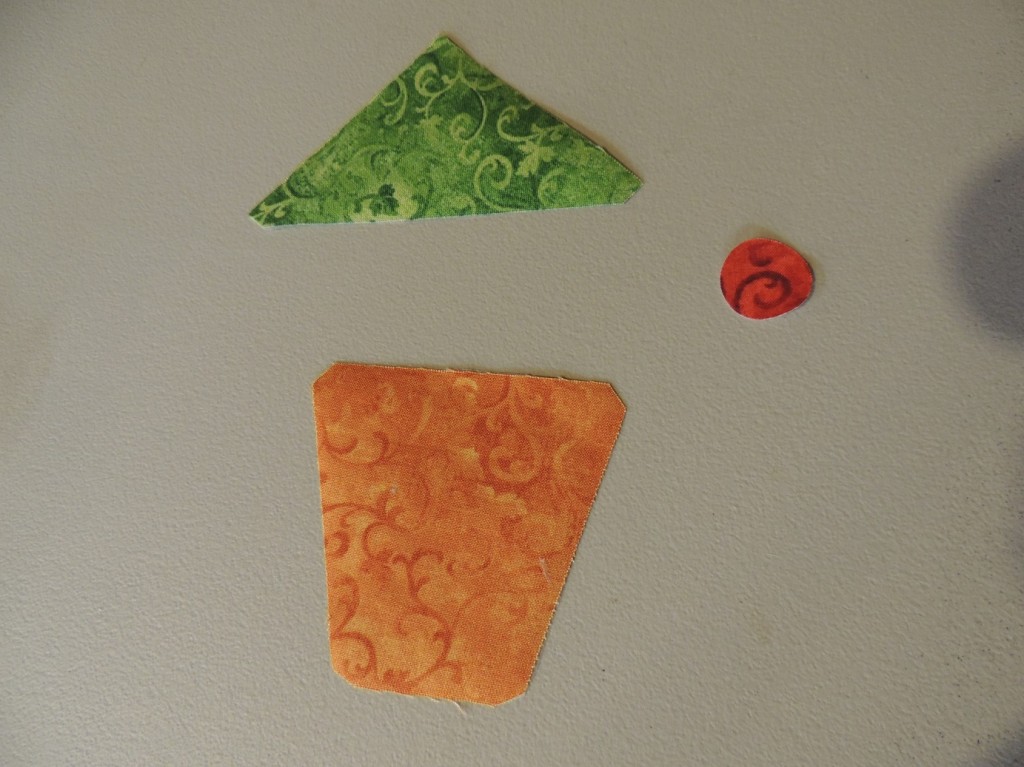
Remember to iron the fusible onto the back of your fabrics BEFORE you cut out the applique shapes. I keep forgetting – argh!  Here I just needed one little circle so I am using part of a die instead of all of it.
And here’s my first applique in my AccuQuilt GO! Pattern Series Quilt but – wait! I don’t like the red hole, not enough contrast.
That’s better…
Now let’s add some vines…
and cover up the gaps between the pieces with some leaves
and start adding flowers…
What do you think…is the blue one getting lost there?
Check back here from more fun progress on my AccuQuilt GO! Pattern Series.


I’m playing ctahcup on blog reading and so sorry I missed the vote. But love your quilt backs. It takes time to make backs like that – and it’s art for both sides of the quilt. I often turn my quilts over and they’re pretty plain on the back. Also love the ME quilting. At our LQS, they have a beautiful quilt that was pieced and basted and then each block was quilted in the machine. One just has to be careful to manage the weight of the quilt so it doesn’t affect the movement of the embroidery machine. I am like you that I like the continuous designs too. EmbLib has some good ones.
This is way more helpful than anything else I’ve looked at.